Description
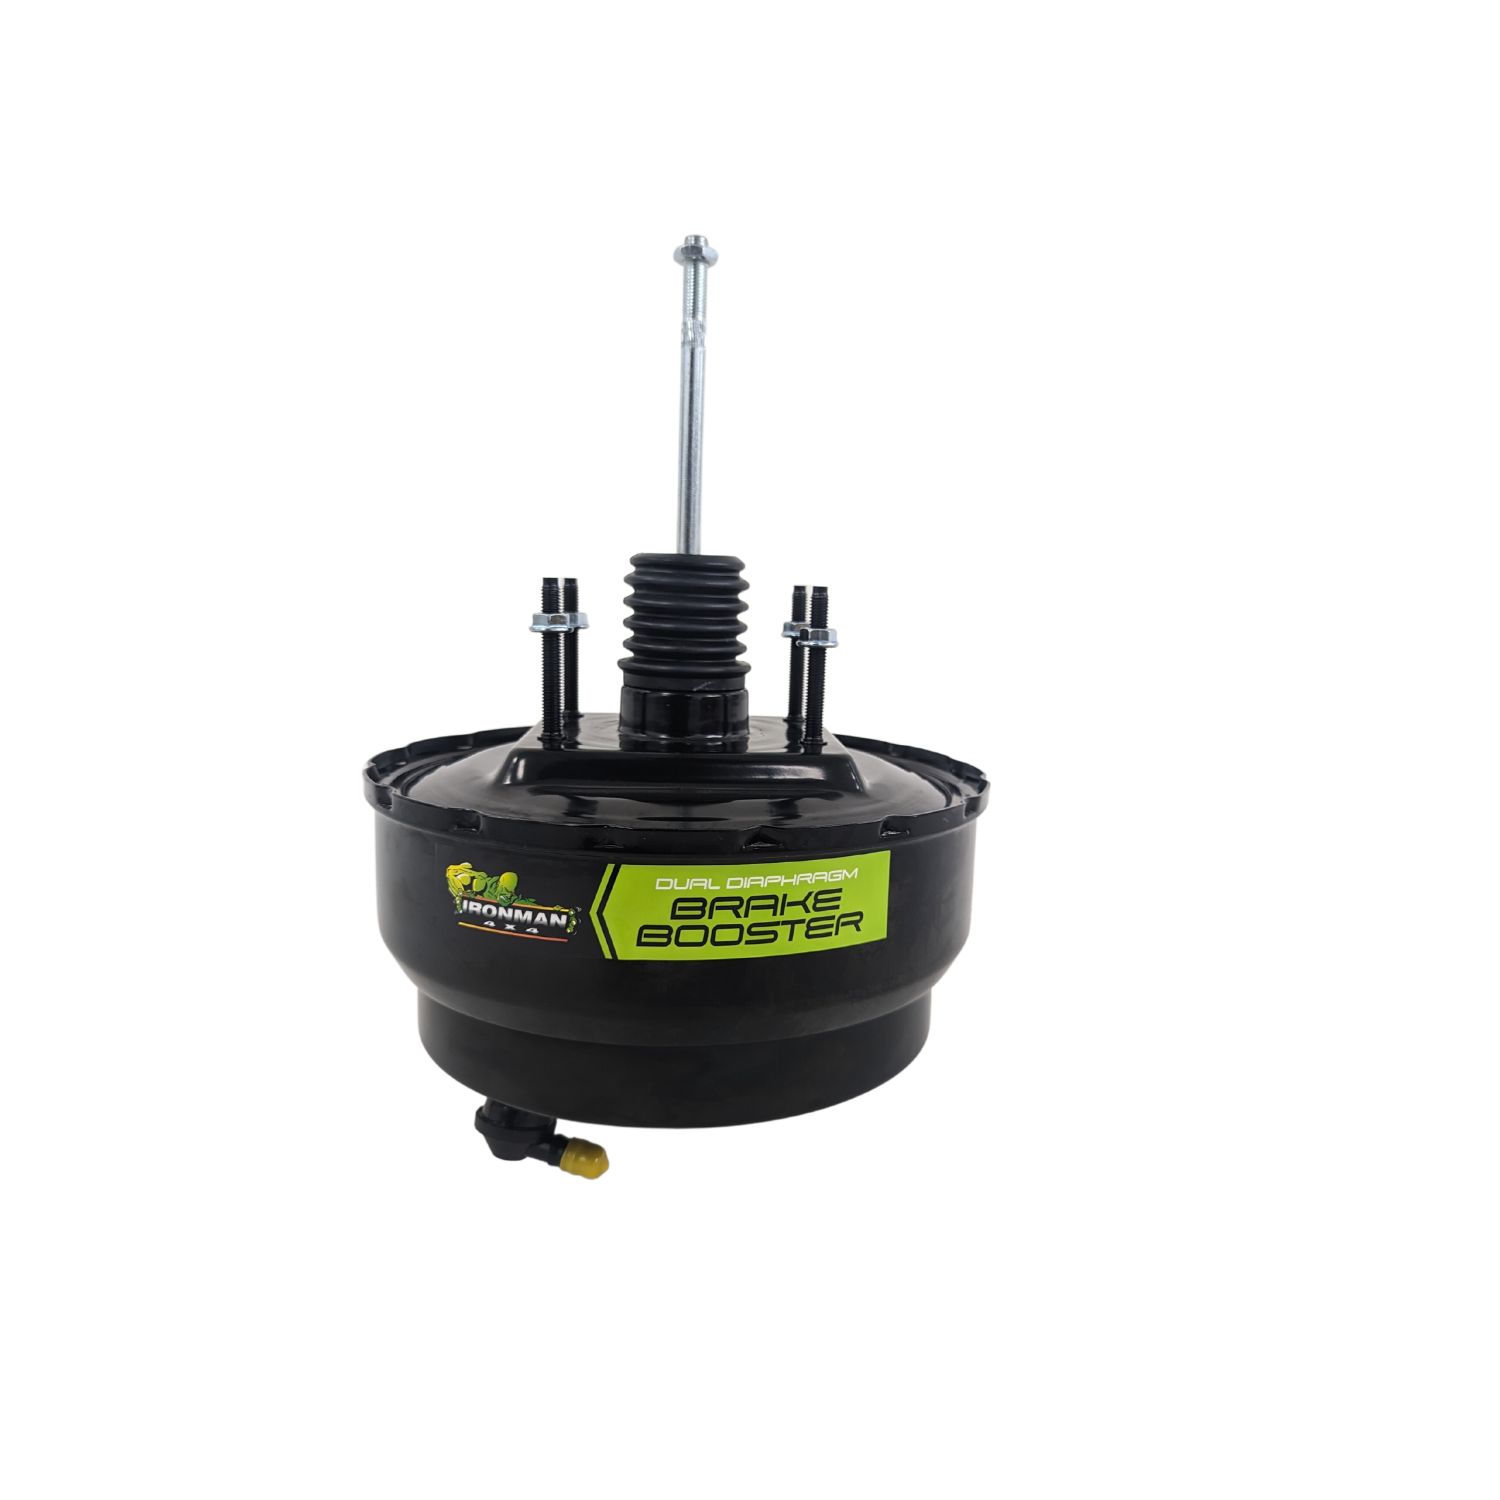
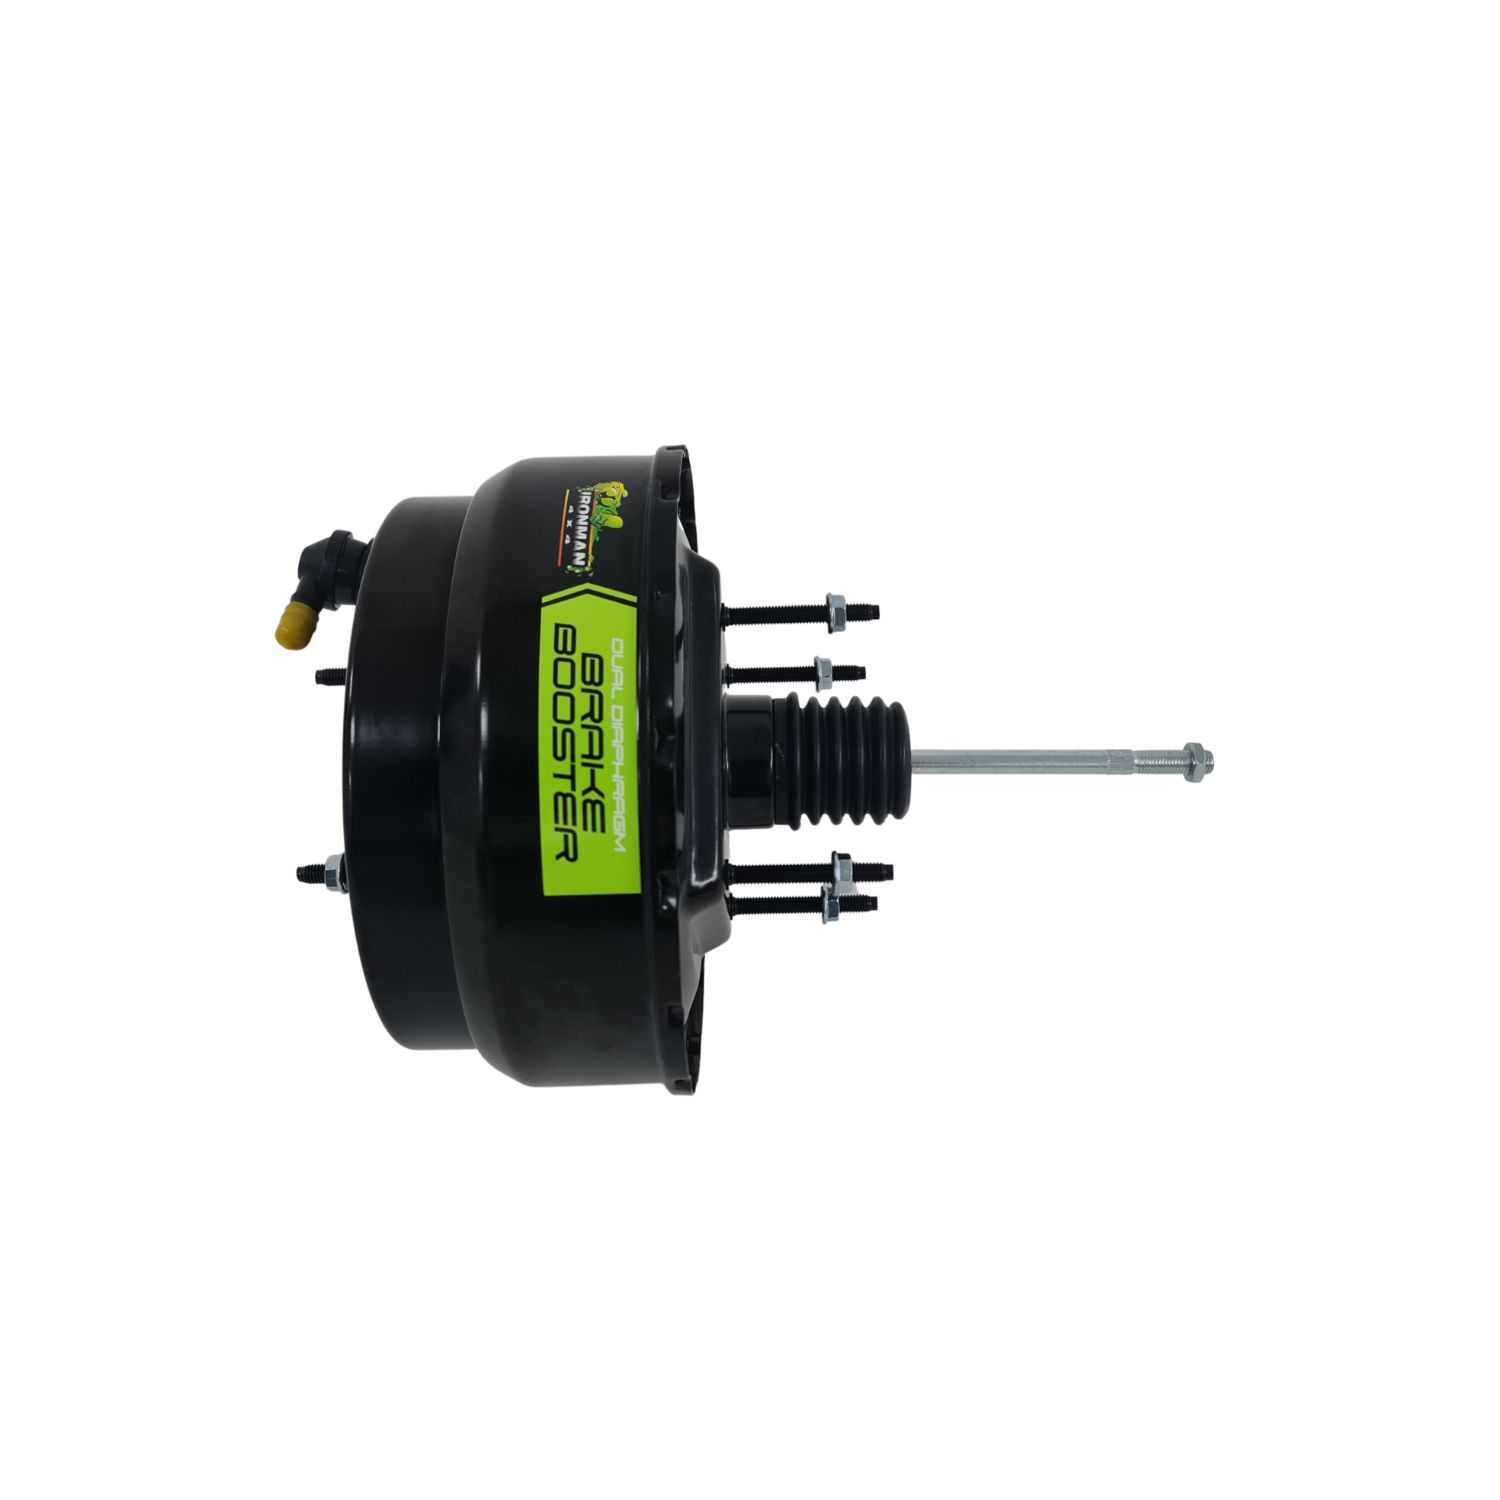
All brake components must be in good working condition to gain maximum benefit from installing a dual diaphragm booster. We recommend upgrading rubber brake lines with steel braided versions.
The vehicle must be driven by the same person before and after installation, noting brake pedal effort and travel before the brakes start to apply, both with the engine running and not running.
Disassembly:
- Remove as much brake fluid as possible from the master cylinder.
- Remove the brake pipe at the master cylinder using the correct pipe spanner; the remaining fluid will drain out of the master cylinder.
- Protect the brake pipe to minimize fluid loss.
- Unbolt the master cylinder, remove the vacuum hose, and disconnect the pushrod from the brake pedal. Then unbolt the booster from the vehicle’s firewall.
On the original booster, measure the distance from the firewall face to the pedal mount and adjust the new booster to the same length.
Also, on the original booster, measure the distance from the master cylinder face to the pushrod end. Check that the new booster pushrod has been locked into the correct position and adjust if necessary.
Assembly:
- Place the supplied gasket and OE spacer back onto the booster.
- Guide the pushrod through the firewall inside the vehicle and ensure it is correctly aligned with the pedal.
- Be sure to align the pushrod in the booster with the extended piston of the master cylinder during installation. Failure to do so may cause breakage and unit failure.
- Install the master cylinder, brake pipe, and vacuum hose.
- Fill the reservoir with new brake fluid using the manufacturer-specified DOT classification.
Now, remove any air trapped in the pipe between the master cylinder and the ABS pump. Using a pipe spanner, loosen the fitting on the ABS pump while another person gently applies the brake pedal. Brake fluid and any air should come out of the fitting. Tighten the fitting before releasing the brake pedal. Repeat if necessary.
Top up the brake fluid reservoir to the correct level. If air becomes trapped in the ABS pump, a factory tool or an adequate scan tool will be required to bleed the ABS unit.
Once the installation is complete, confirm that the pedal height and operation are the same or better than the original when the engine is not running. With the ignition on, check that the brake lights work as soon as the pedal is applied.
Then, test with the engine running before road-testing the vehicle. Due to the light control valve and the higher output of the unit, installers tend to apply substantially more pedal pressure than they realize.
Additional information
| Brand |
|---|
Only logged in customers who have purchased this product may leave a review.
Related Products
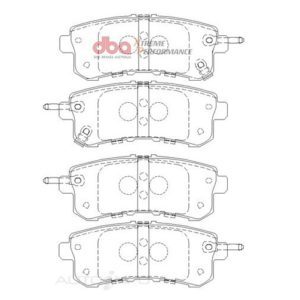
T3 REAR BRAKE PADS PATROL Y62
T2 REAR BRAKE PADS LC200/LX570/ TUNDRA
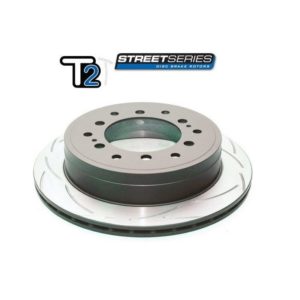
T2 REAR DISC ROTOR (fj/PRADO/fortuner)
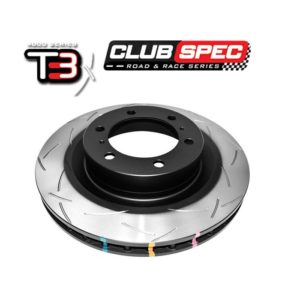
T3 FRONT DISC ROTOR PRADO 150
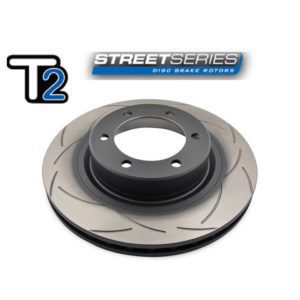
T2 FRONT DISC ROTOR (PRADO /FORTUNER)
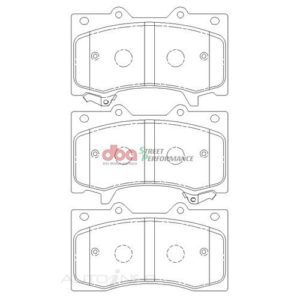
T2 FRONT BRAKE PADS PATROL Y62
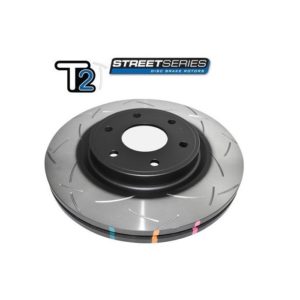
T2 FRONT DISC ROTOR PATROL Y62
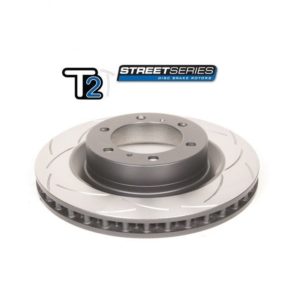
T2 FRONT DISC ROTOR PRADO 150
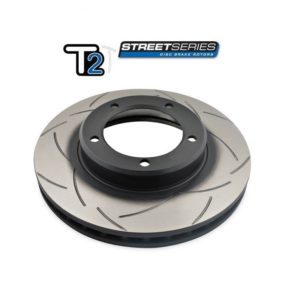
T2 FRONT DISC ROTOR LC100
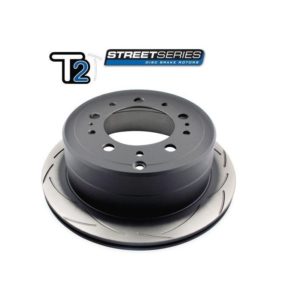
T2 REAR DISC ROTOR LC100
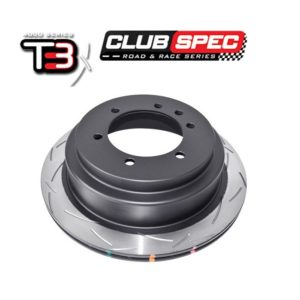
T3 REAR DISC ROTOR Y61
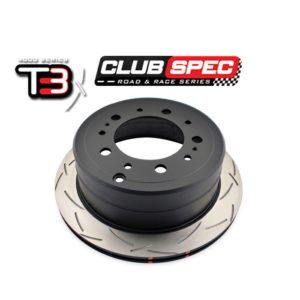
T3 REAR DISC ROTOR LX470/LC100
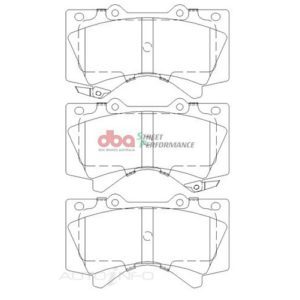
T2 FRONT BRAKE PADS LC200/LX570/ TUNDRA
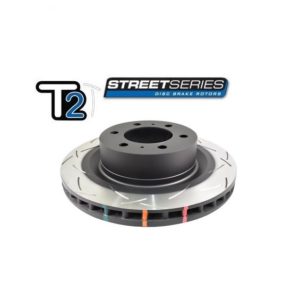
T2 FRONT DISC ROTOR LC300/LX600
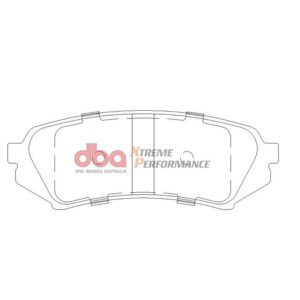
T3 REAR BRAKE PADS LC100/LX470
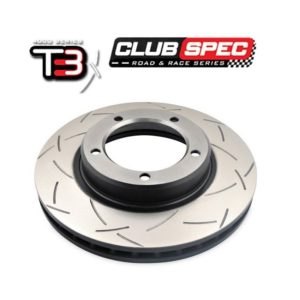
T3 FRONT DISC ROTOR LC71/LC76/LC78/LC79
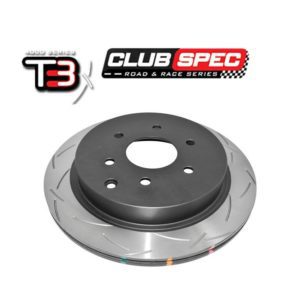
T3 REAR DISC ROTOR PATROL Y62
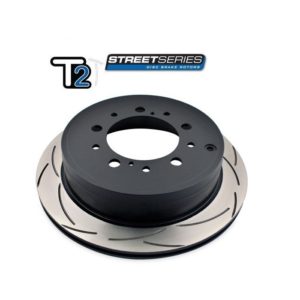
T2 REAR DISC ROTOR (LC200/LX570/TUNDRA)
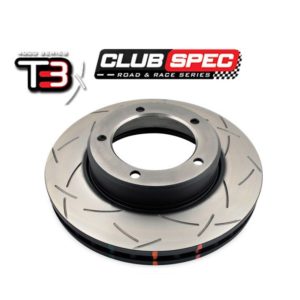
T3 FRONT DISC ROTOR LX470/LC100
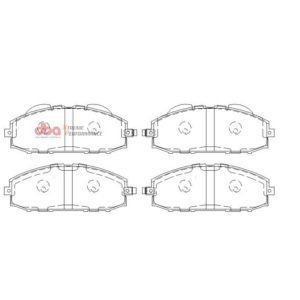
T3 FRONT BRAKE PADS Y61
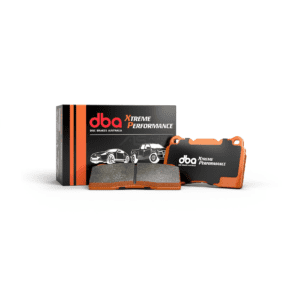
T3 REAR BRAKE PADS LC300/LX600
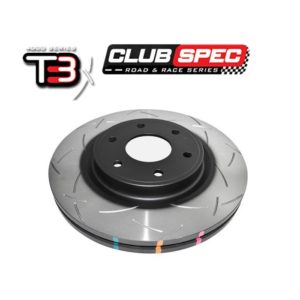
T3 REAR DISC ROTOR LC300/LX600
FJ Cruiser 2007+ Rear Pads
T3 FRONT BRAKE PADS LC200/LX570/ TUNDRA
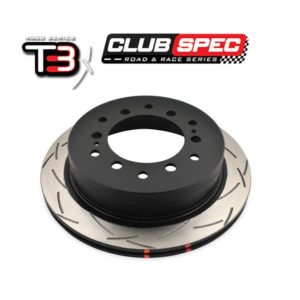
T3 REAR DISC ROTOR (FJ/PRADO/FORTUNER)

T3 FRONT BRAKE PADS LC300/LX600
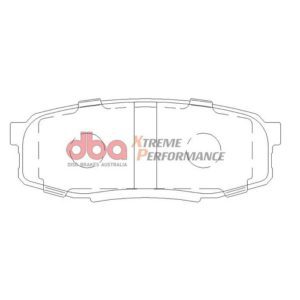
T3 REAR BRAKE PADS LC200/LX570/ TUNDRA
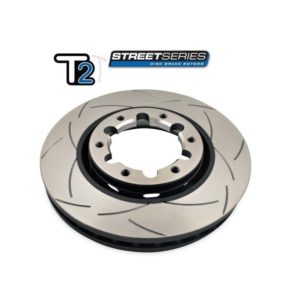
T2 FRONT DISC ROTOR Y61
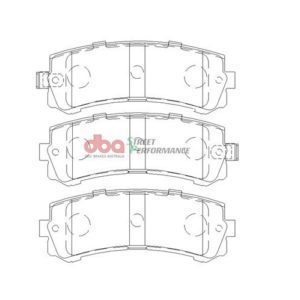
T2 REAR BRAKE PADS Y61
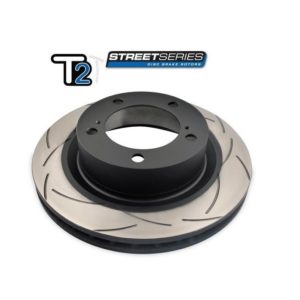
T2 FRONT DISC ROTOR (LC200 /LX570)
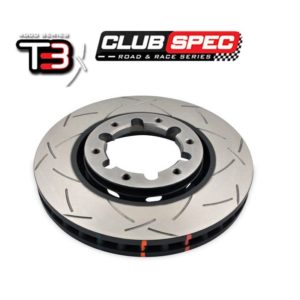
T3 FRONT DISC ROTOR Y61
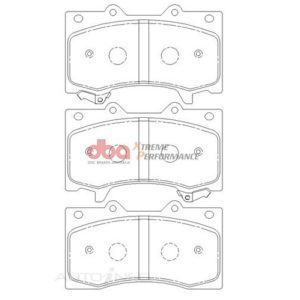
T3 FRONT BRAKE PADS PATROL Y62
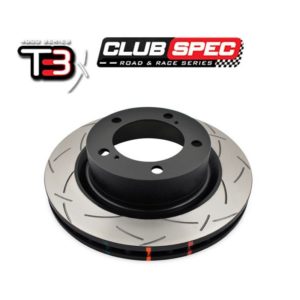
T3 FRONT DISC ROTOR (LC200 /LX570)
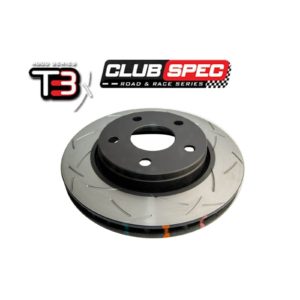
T3 FRONT DISC ROTOR JEEP WRANGLER JK
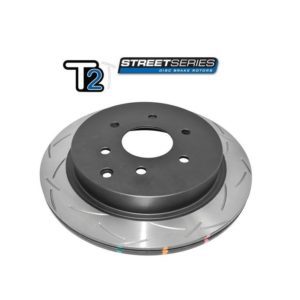
T2 REAR DISC ROTOR PATROL Y62

T3 FRONT DISC ROTOR PATROL Y62
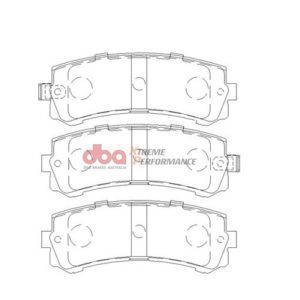
T3 REAR BRAKE PADS Y61
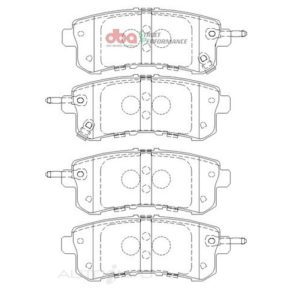
T2 REAR BRAKE PADS PATROL Y62
T2 REAR DISC ROTOR Y61
T2 REAR DISC ROTOR (FORTUNER/ PRADO)



Reviews
There are no reviews yet.